
Incubation and Brooding

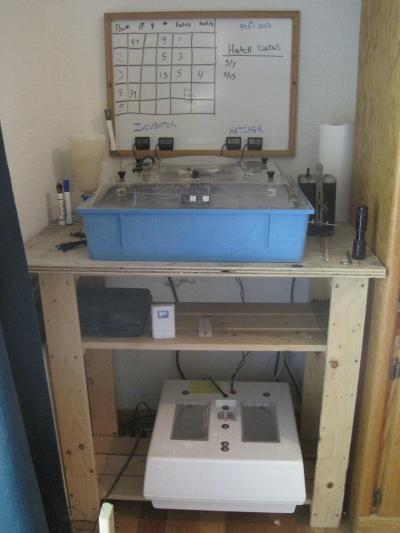
This is my current incubation and hatching setup. I am using a RX2 ROLL-X that I bought used for egg incubation and a Little Giant® Forced Air Incubator as my hatcher. Eggs that are being held for incubation are placed in a Little Giant egg tuner for up to a week prior to be placed in the incubator.
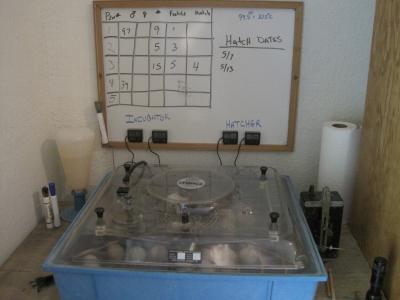
The Dry erase board allows me to keep track of the individual breeding pens, number of eggs, fertility and hatching rates. As you can see by the numbers shown, Sebrights are not the most prolific of layers. The 4 little black boxes at the bottom of the board are digital thermometers and hygrometers, that allow me, at a glance, to see what current conditions are in each unit. I still use traditional wetbulb readings and thermometer inside the units as well.
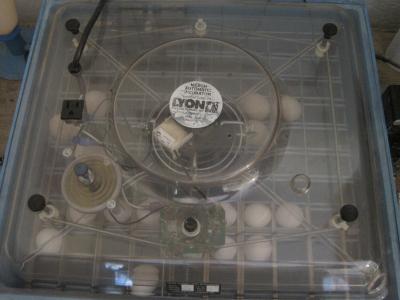
Looking down on the RX2. Hard to notice in this picture, but the 3 rows of egg grid at the bottom of the picture have been altered to allow the smaller Sebright eggs to be incubated at the same time as the larger eggs at the top of the picture.
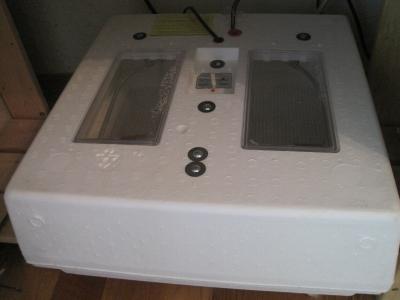
The Little Giant® Forced Air Incubator being used as my hatcher. I find the use of the Styrofoam hatcher to be much easier than trying to incubate and hatch all in the same unit. With the addition of a disposable plastic tray liner, this hatcher is very easy to keep clean.
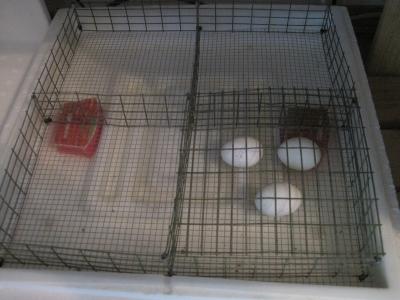
Inside look at the hatcher. I have divided the hatcher into 4 different compartments that allow me to keep track of who is hatching from what breeding pen. With the use of toe punching I can keep accurate pedigree records. The two pieces of sponge allow for an increase humidity at hatching time.
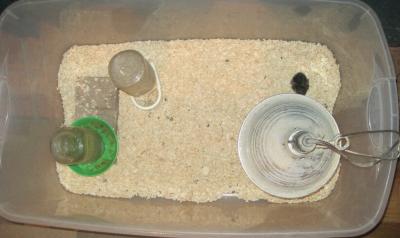
24 hours after hatching the chicks are moved to simple plastic tubs, with shavings, water, food and a ceramic heat lamp. They will spend a few weeks in this indoor brooder, prior to be moved to the outside brooder and eventually into an outside Brood Run.